Soft and Fluffy Chocolate Buns Recipe – Easy Step-by-Step Guide
Introduction to Soft and Fluffy Chocolate Buns
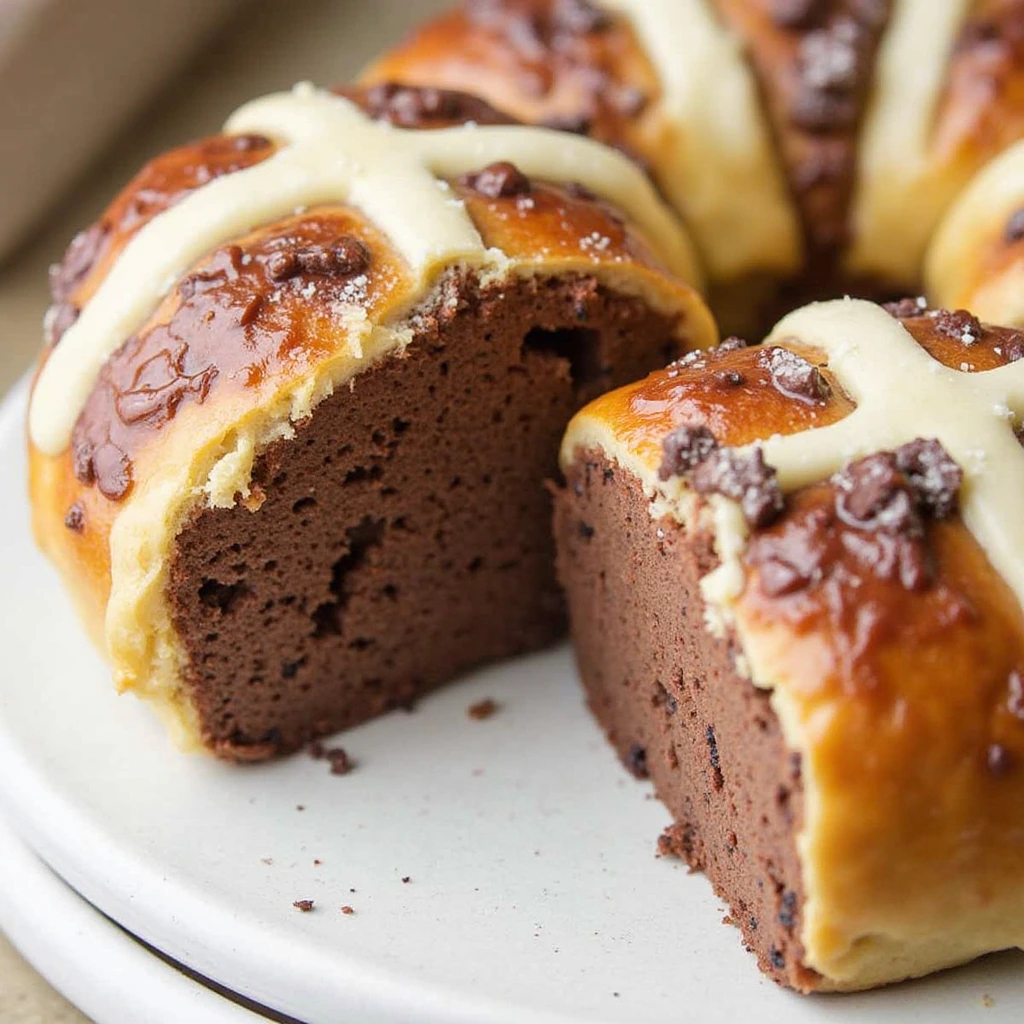
Chocolate buns are the perfect combination of fluffy dough and decadent chocolate. They’re soft on the inside, slightly crispy on the outside, and full of rich, melted chocolate. If you’ve ever had store-bought chocolate buns, you know how satisfying they can be. But when you make them at home, you can enjoy them fresh out of the oven, with that unbeatable softness and warmth.
The best part? Making these buns is easier than you might think. With a few simple ingredients and some basic baking techniques, you’ll be able to create a batch of chocolate buns that are better than anything you can buy in a bakery.

Ingredients You’ll Need for Soft and Fluffy Easy Chocolate Buns
For a more detailed guide on the best baking ingredients, check out this comprehensive list of baking essentials.
Before you begin, it’s important to gather all your ingredients. Here’s what you’ll need for this soft and fluffy chocolate bun recipe:
Ingredients:
| Ingredient | Amount | Notes |
|---|---|---|
| All-purpose flour | 2 ½ cups | Sifted |
| Active dry yeast | 1 packet | Fresh, not expired |
| Cocoa powder | ¼ cup | Unsweetened |
| Milk | ¾ cup | Warm, not hot |
| Butter | ½ cup | Softened |
| Sugar | ½ cup | Granulated |
| Egg | 1 | Large |
| Salt | ½ tsp | |
| Chocolate chips | 1 cup | Semi-sweet |
Each ingredient plays a key role in creating the perfect texture and flavor. The flour provides structure, the cocoa powder gives it that rich chocolatey flavor, and the chocolate chips ensure each bite is a sweet indulgence.
Step-by-Step Instructions to Make Soft and Fluffy Chocolate Buns
Now that you’ve got everything ready, let’s dive into the steps for making your chocolate buns.
Step 1: Preparing the Dough
Start by activating the yeast. In a small bowl, combine the warm milk (not too hot, or it will kill the yeast) and sugar. Stir it together until the sugar dissolves, then sprinkle in the yeast. Let it sit for about 5-10 minutes until it becomes frothy. This step ensures that the yeast is active and ready to help your dough rise.
In a separate large bowl, mix the dry ingredients: flour, cocoa powder, and salt. Stir them together until evenly combined.
Once your yeast is activated, add the butter, egg, and milk mixture to the dry ingredients. Stir everything together until it forms a sticky dough. Turn the dough out onto a floured surface and begin kneading. Knead for about 8-10 minutes until the dough becomes smooth and elastic. This is a crucial step for achieving that soft and fluffy texture.
Step 2: Let the Dough Rise
Once your dough is kneaded, it’s time to let it rise. Place the dough in a lightly oiled bowl, cover it with a clean towel, and let it rest in a warm, draft-free place for about 1 to 1.5 hours. During this time, the dough will double in size as the yeast works its magic.

Step 3: Shaping the Buns
Once the dough has risen, punch it down gently to release any air bubbles. Divide the dough into equal portions (about 12 pieces). Roll each piece into a ball and flatten it out with your hands. Place a spoonful of chocolate chips in the center of each flattened dough circle, then carefully fold the edges over the chocolate and roll them back into a ball shape.
Arrange the buns on a baking tray lined with parchment paper, leaving a little space between each one.
Step 4: Baking the Buns
Preheat your oven to 350°F (175°C). Bake the buns for 15-20 minutes, or until they’re golden brown on top. A toothpick inserted into the center should come out clean.
Once the buns are done, remove them from the oven and allow them to cool for a few minutes. This will help them set, and you’ll get that perfect texture.
Step 5: Enjoy Your Soft and Fluffy Chocolate Buns
The moment of truth! Let the buns cool slightly before serving, as they’ll be easier to handle. If you want an extra touch, dust them with powdered sugar for that bakery-style finish.
Now, sit back, take a bite, and enjoy the soft, fluffy, and chocolatey goodness of your homemade buns. You’ll be amazed at how simple it was to create such a delicious treat!
Tips for Perfect Soft and Fluffy Chocolate Buns Every Time
To ensure your chocolate buns turn out perfect every time, here are a few tips:
- Properly proof the yeast: Always make sure your yeast is fresh and activate it properly with warm milk and sugar. If it doesn’t foam, the yeast is likely expired, and the dough won’t rise properly.
- Knead well: Don’t rush the kneading process. Kneading is essential for the dough’s texture. The more you knead, the fluffier your buns will be.
- Watch your baking time: Keep an eye on your buns in the oven. Every oven is different, so the exact baking time may vary. Start checking at the 15-minute mark.

Nutritional Information of Soft and Fluffy Chocolate Buns
Here’s a general breakdown of what you’re consuming in one delicious chocolate bun:
| Nutrient | Amount per Bun |
|---|---|
| Calories | 210 |
| Total Fat | 9g |
| Saturated Fat | 4g |
| Carbohydrates | 30g |
| Protein | 3g |
| Sugar | 10g |
While these buns are a bit indulgent, they’re definitely worth the treat. Just remember to enjoy them in moderation!
Common Mistakes to Avoid When Making Chocolate Buns
Even experienced bakers can sometimes run into a few bumps when making chocolate buns. Here’s how to avoid the most common mistakes:
- Not letting the dough rise enough: If your dough hasn’t doubled in size, your buns might turn out dense. Be patient and let the yeast work its magic.
- Overbaking the buns: Keep an eye on the oven. Overbaking can result in dry buns, so aim for a golden-brown top and a soft center.
- Using cold butter: Always use softened butter to ensure it integrates properly into the dough, creating the perfect texture.
FAQs About Soft and Fluffy Easy Chocolate Buns Recipe
- How do I make my chocolate buns extra soft?
- To get extra soft buns, knead the dough well and ensure it rises properly. Using warm milk helps activate the yeast, contributing to a softer texture.
- Can I use dark chocolate in this recipe?
- Yes, you can use dark chocolate for a more intense chocolate flavor. Just keep in mind that it may make the buns a bit less sweet.
- Can I freeze chocolate buns after baking?
- Absolutely! After they’ve cooled completely, place them in an airtight container or freezer bag and store for up to 3 months.
- Can I make this recipe ahead of time?
- Yes! You can prepare the dough the night before, refrigerate it overnight, and let it rise the next morning for fresh buns.
Conclusion
Making soft and fluffy chocolate buns at home is easier than you think. With this simple recipe and a few helpful tips, you’ll be able to create melt-in-your-mouth chocolate buns that will delight everyone who tastes them. So why not give it a try? Whether you’re baking for a special occasion or simply indulging in a homemade treat, these chocolate buns are sure to impress. Happy baking!